If your having a party with many guest, it would be good to have a theme to make people more united and interested. Theme parties are fun, easier to organize and can get people very excited when they’re encourage to dress up with the theme.
Theme parties can be easier to plan than non-themes ones, since you have something to guide you when you’re choosing a decorations, deciding on what kind of food to serve and selecting a motif for the venue and outfits.
You can hire an event organizer to get things done for you or you can plan a theme party with your associates. One thing for sure, it makes the experience more fun for you and your guest.
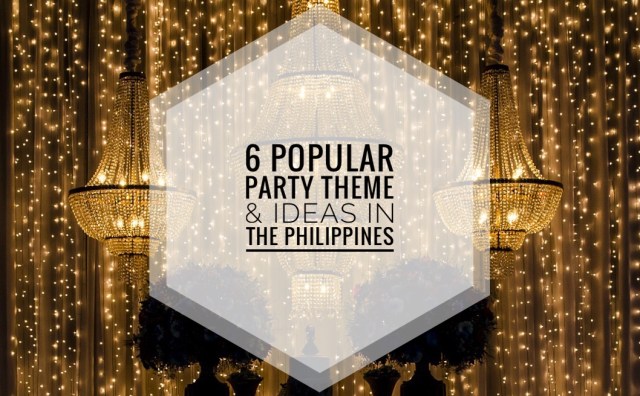
Here’s the 6 popular party theme and ideas in the Philippines
1. The Hollywood Party. I love the glitz and glamour of Hollywood. You don’t have to travel to Southern California to experience walking in the red carpet in your own Hollywood party. Hollywood main props usually include the red carpet with red rope railing and divider. This will help the guest make a good entrance and provide the perfect backdrop for a photo opportunity. Set the scene right as your guest arrive and have them walk the red carpet like they would at a premier or awards ceremony. Party-goers will love striking their favorite movie star poses for the paparazzi. If your throwing a Hollywood party, you should do all you can to create a glamorous experience for your guest. The aim is to recreate the atmosphere of a Hollywood event. Although it may seem expensive and difficult to throw a party worthy of your favorite actors, it is totally doable and can be accomplish on a budget. This is a great party theme, especially for those who adores movies.
2. The Retro Party. The 60’s and 70’s were decades dedicated to peace, love, disco dancing, crazy clothing and groovy music. Take a step back in time and make it retro, which makes it an ideal theme for your next party. A back light or disco ball is practically required and wearing bell-bottom jeans and tie dyed t-shirt is a must in a retro party. Harken back to the bygone eras, rich in traditions and memories, while everyone is in polka dots and polyester. Let everyone experience a party reminiscent of the past that seems to have more entertaining elements than what we have in the present. Dress up the way your Grandparents did and have some fun reliving ancient history, as everyone enjoys good old-fashioned food and drinks.
3. The 80’s Party. The 80’s was a very unique era of times. To throw an 80’s party, you’ll want to include as many 80’s nostalgic ideas and items as u can. The 80’s was full of loud colors, extreme fashion, sky high hair and forever defining music. You need to have an awesome 80’s playlist. Make sure you have the hits from the famous music icons that ruled this decade. There are tons of fashion fads that scream 80’s like the leg warmers, spandex, dark sunglasses, side ponytails, high tops, excessive rubber bracelets, finger less gloves, male earrings, shoulder pads and the list goes on and on. You may find yourself invited to an 80’s party and have no idea what to wear to the party. Wearing these to resurrect the look and feel the fun and groovy 1980’s can help you fit in or even become the talk of the party.
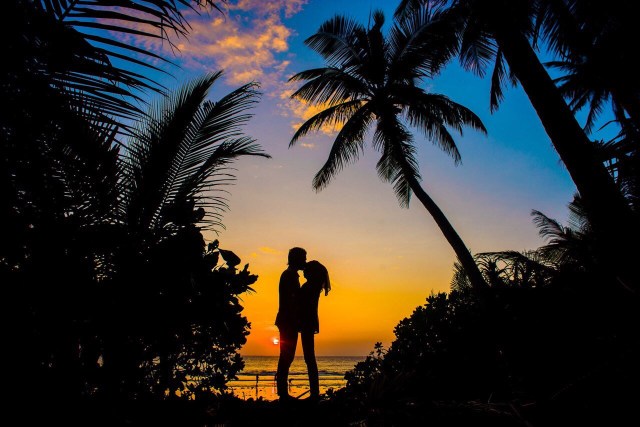
4. The Hawaiian Party. Hosting a Hawaiian party in the Philippines can be a breeze since we have a lot of coconut trees, beaches, seafoods and tropical fruits. In the beaches it won’t be much of a stretch to ask all the guest to wear their swimsuits, sundresses and shorts. Hawaiian style are flower printed skirts, shirts and board shorts. Ask your guest to wear flip-top and its best to place a “Leis” (a garland or wreath) over the head of each guest as they arrived to get them in the spirit of the party. Who doesn’t want to spend a day having fun in a tropical paradise? People love the idea of dressing up in bright and colorful shirts, enjoying tropical fruits, coconut and pineapple juice and food cooked outdoors.
5. The K-Pop Party. “Annyeonghaseyo” to all the k-pop lovers out there. Korean pop fans is increasing day by day and it’s no wonder that these fans love to celebrate their birthday or any other party with k-pop theme. To add more style stick to as many k-pop idols all around the venue or make a huge wallpaper of your favorite band in the party room. Asked your fellow k-pop lovers to wear t-shirt with idols name, logo or pictures printed on it that way you can make conversation regarding the different k-pop idols. Blend and layering your clothes will allow you to get all sort of new look from the same old clothes by mix and matching your tops with dresses, skirts, blazer, jacket, semi formal with casual shoes and sneakers. As for the concept there are many to choose from sexy theme, a geeky theme, a nerdy theme, a kiddie theme or maybe a bad boy and girl oriented look with a party short dress and army jacket. And a treat for the guest, they could come away with some pretty amazing swag.
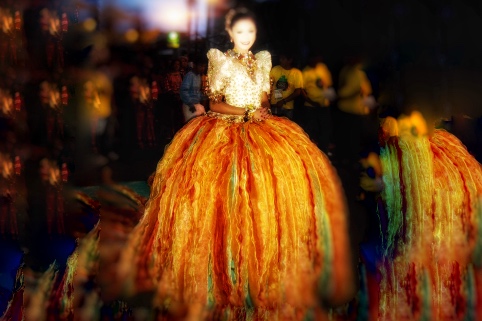
6. The Great Gatsby Party. The great Gatsby is almost unbelievably luxurious. It was a time of unprecedented wealth in America, known as “The Roaring Twenties” were a time of conspicuous spending of wealth. 1920’s dresses were sleeveless, shapeless, ankle to knee length hips gowns accented with fancy beadings, sequins, fringe and some feathers. Rich jewel tone color and soft pastel made the simplest of gowns look expensive. Add to that some lavish accessories, such as diamond tiara or headband, silk shawl, feather fan, long pearl necklace and gold arm bangles, women look like silent movie star, while ladies lavished in fancy frocks, men found relief in slightly more comfortable stuffy tailcoat tuxedos. Men cast off formal attire all-together and embraced the colorful life of striped suits, flashy neckties, Hamburg hats and gold capped walking sticks. Wealth, Class and Society, the Great Gatsby’s guests represent the wealthiest members of 1920’s New York society.
Those are the 6 most popular theme and party ideas in the Philippines. Thank you for reading our short article


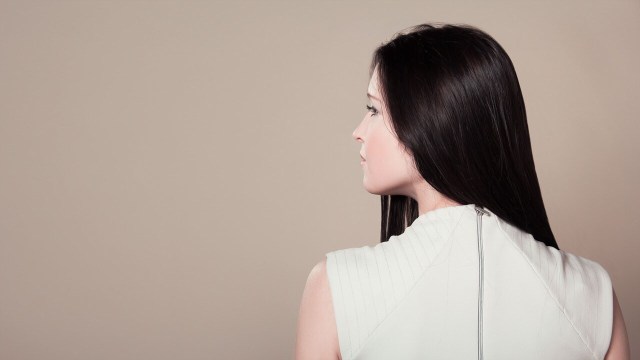


 A Brazilian Keratin Treatment are both hair smoothing treatments that temporarily coat the outer layer of the hair to smooth the hair, remove frizz, enhance shine and decrease blow drying time. But while both treatments calm frizz and smooth strands, there is a difference when it come to intensity. A consultation at a salon with a good reputation and experienced stylist is the first and most important step to achieving the desired results.
